Event
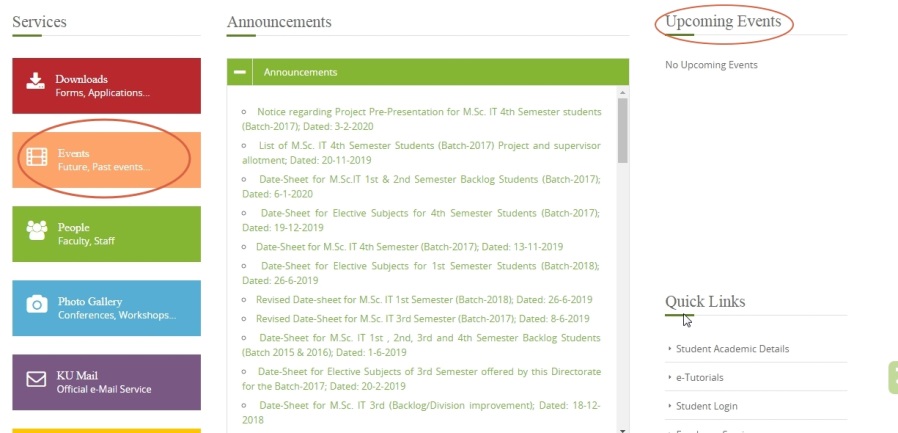
To keep a note of all the events, so that students are kept informed, every department has an event section on their website. Any Update on event is highlighted in events section and future events also scroll in Upcoming Events.
Screenshot of Departmental website with Events section is shown below:
Steps to update Events on the website
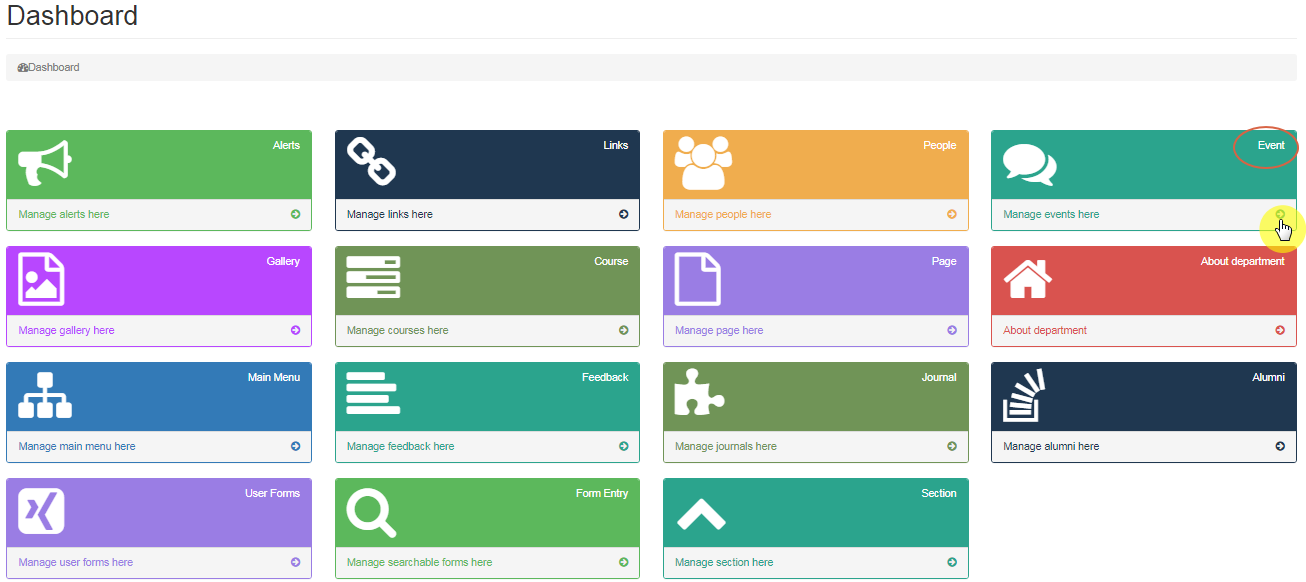
1) Select Event section
Once you have Logged in, You will be able to see the Dashboard.
Click on the highlighted arrow pointer, to go to Event section.
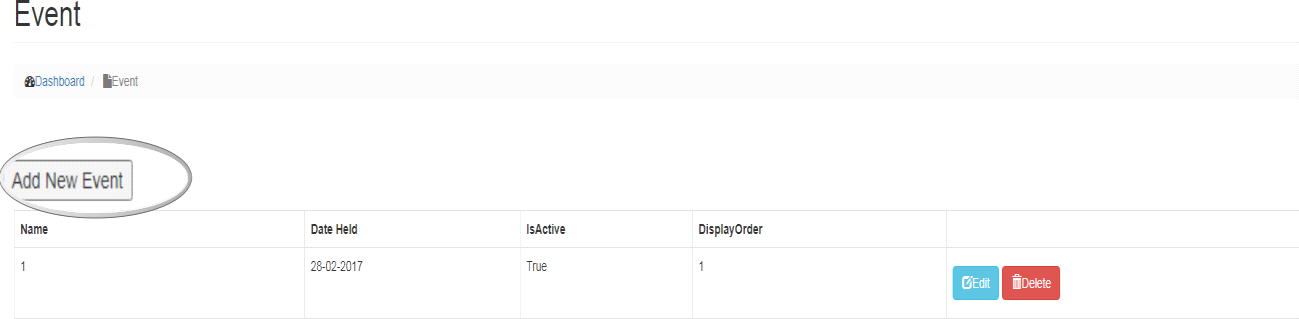
2) Add New Event
In event section, you will be able to add an event by clicking on Add New Event button in order to proceed with event details.
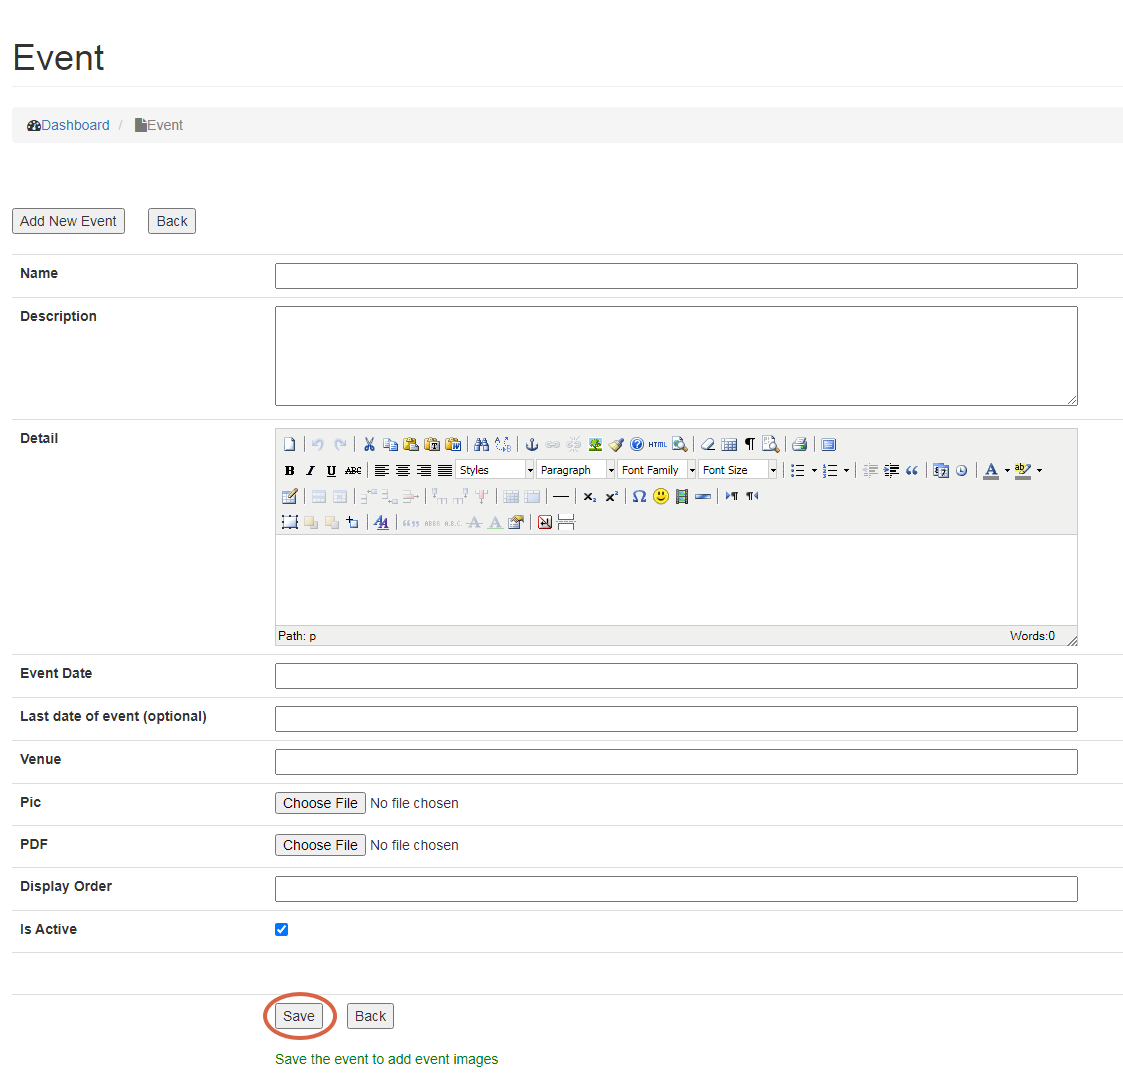
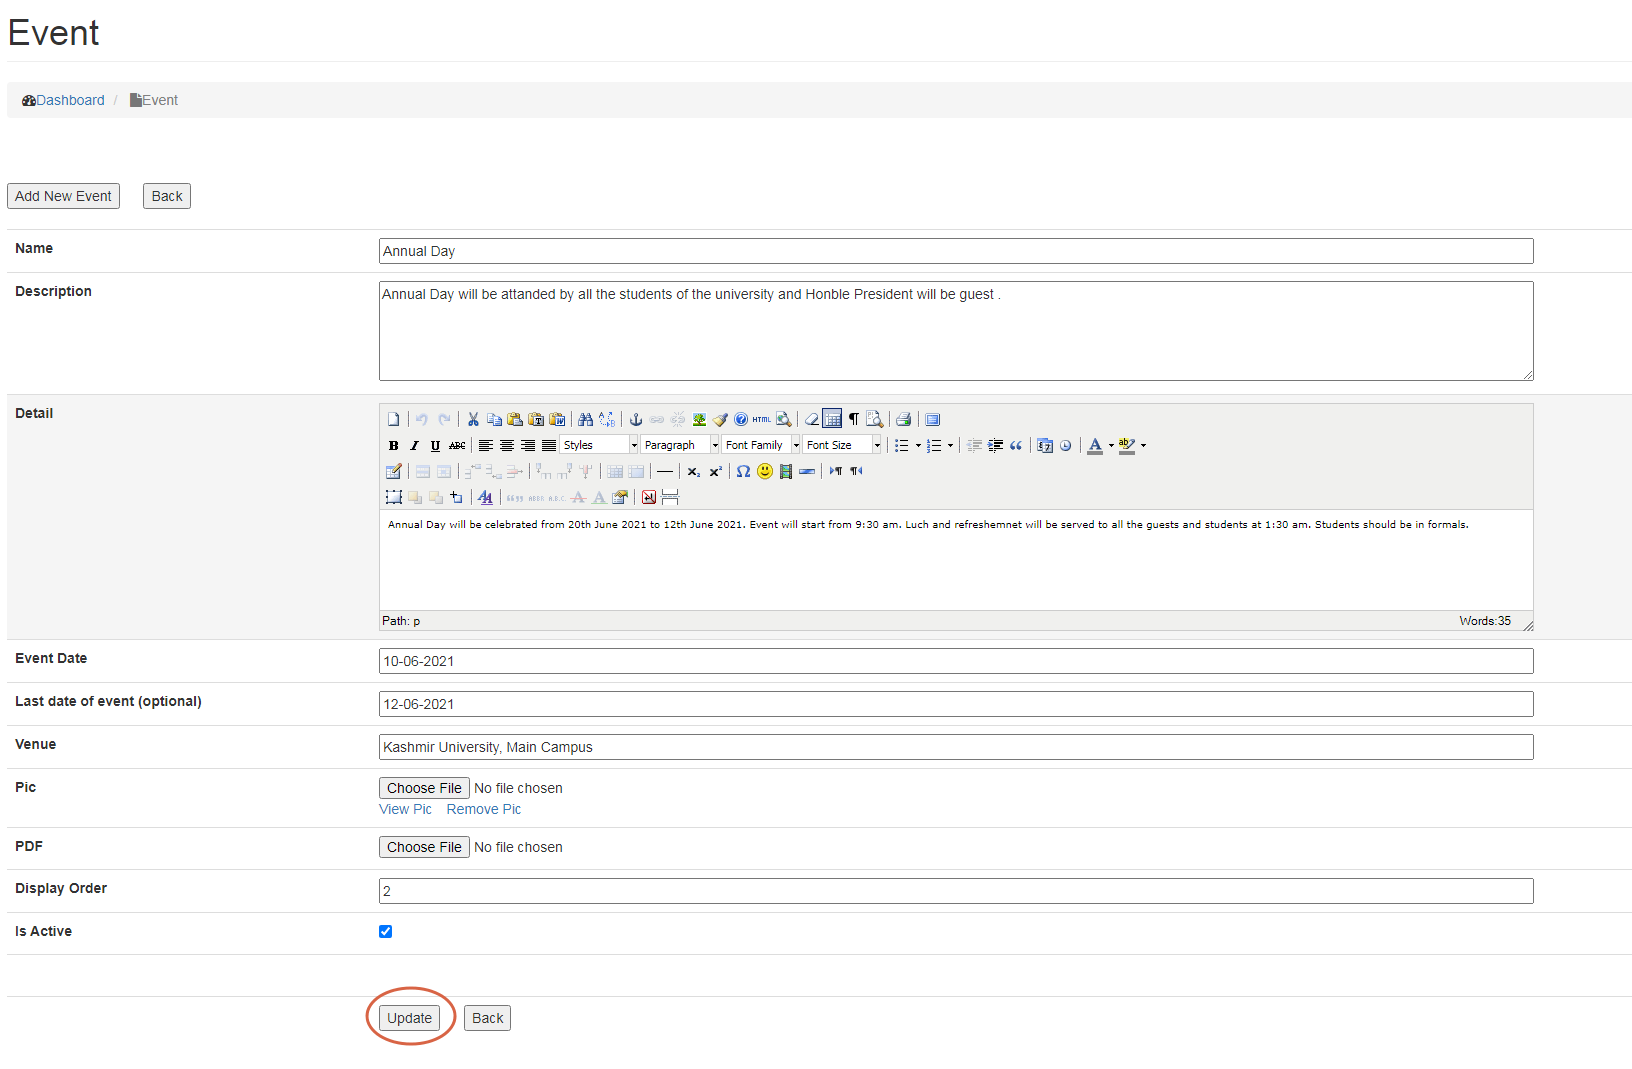
3) Event Details
After you have clicked on Add New Event button, it will take you to the page wherein you can enter all the details related to Event which includes:
- Naming an Event
Mentioning the Name of the Event is the foremost thing to do.
- Description of the event
What is the event all about and describing the reason for it.
- Details of the event
In this section you have to mention all the details related to an event.
- Event Date
When is the event going to take place.
- Last date of event
Last day is optional, as it is for events which are going to last more than a day.
- Venue
Mention the Place where the event is going to take place.
- Pic
You can upload pictures related to the event.
You would be able to upload document related to an event in pdf format.
- Display Order
Display order reflects the sequence of order for an event which would be visible in the section selected by the user, whether it is first on the event page or second.
- Is Active
Is Active allows user to select whether the event is to be made Visible or not on the website. User can enter details of an event and select Is Active option later to reflect it on the website.
Once you fill all the details, click on Save button to save details.
Screenshot of the Event Details section has been shown below.
Editing/Deleting an Event
To Update an Event,
- Click on Edit button
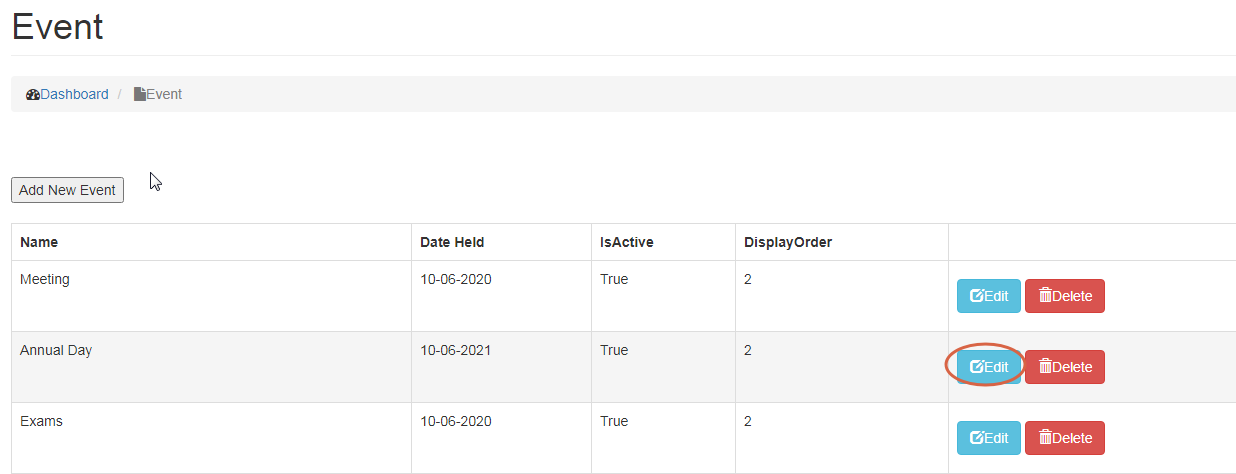
- Make changes, click on Update button.
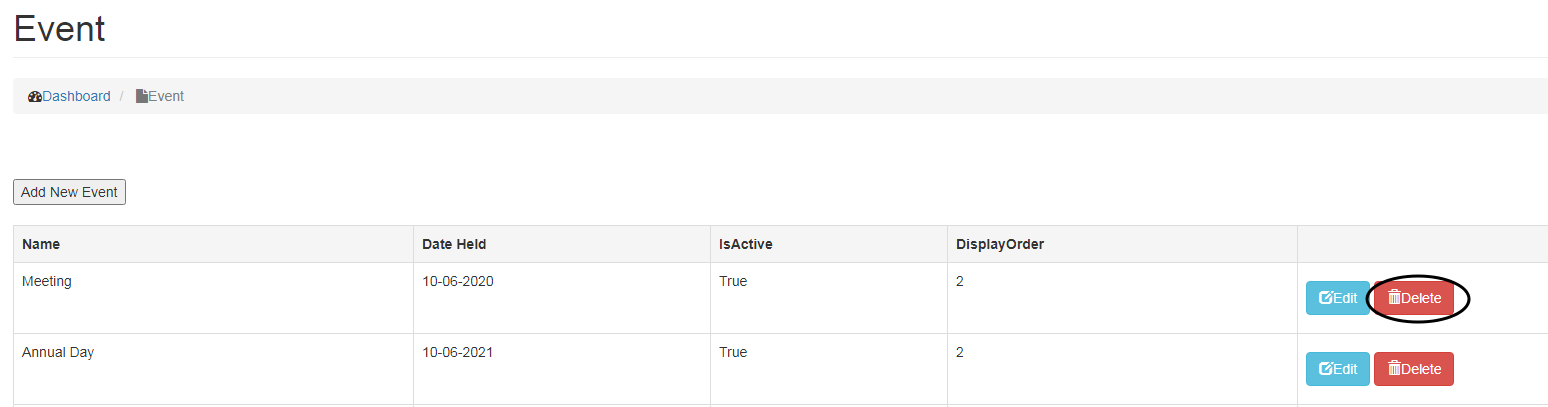
- To Delete an Event, click on Delete button.
Once you have saved an event, Event Images table will appear beneath event details, wherein you can upload pictures of the event.
To upload pictures in Event Images,
- Click on Choose file option
- Provide a name for the Picture in Description section,
- To make a picture visible on website, check the Is Active box and
- Click on Add button.

Linking Events to website
Event List and Event View can be linked to the desired Page by either creating a new Page in Main Menu or linking it to the existing Main Menu.
- Event List
You can get the List of Events in the Event List Page.
- Event View
You can view the details of the Event by clicking on this Page.
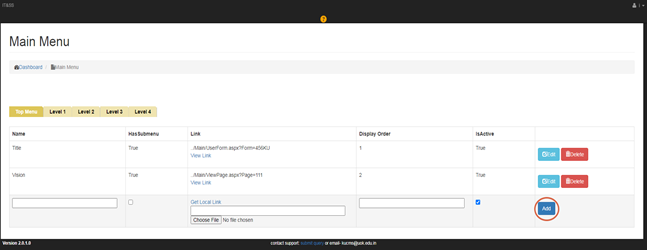
Creating a new Page;
- Go to Main Menu and select the desired location wherein you want to create and link the Page and enter details,
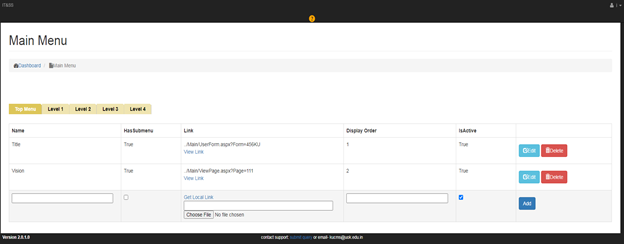
- Click on Get Local link, select Event List/Event view from the select Page drop down menu and click on Insert Link.
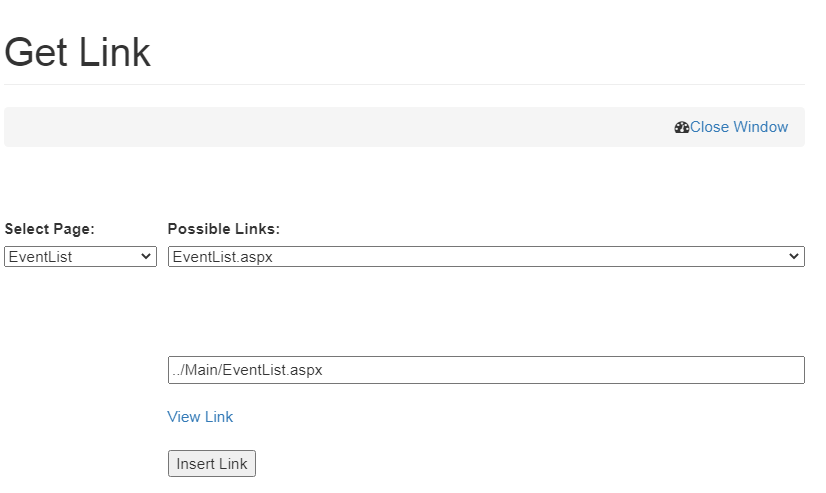
- Click on Add button.
Linking Event List/Event view to the already existing Page
If you want to link Event List/Event view to the already existing Page;
- Click on Get Local Link,
- Select Event List from Select Page,
- Click on Insert Link and
- Click Update Button.
Screenshot showing an Event by the name Annual Day has been created on the website.
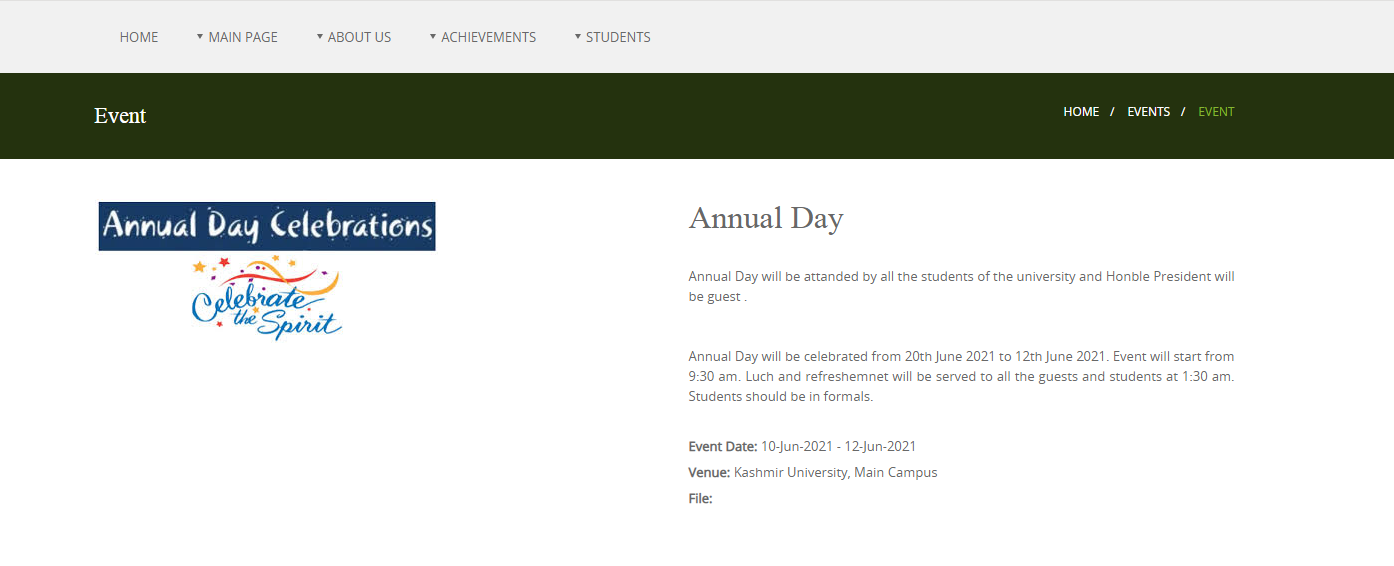
Similarly, you can add more events by clicking Add New Event and follow steps mentioned
Created with the Personal Edition of HelpNDoc: Benefits of a Help Authoring Tool